Are you tired of guessing how to secure wire ropes? improper installation can lead to big problems. Let’s fix this for good.
Properly installing a wire rope ferrule and end stop involves correct sizing, crimping, and checking. This ensures the wire rope system is safe and strong. It prevents slippage and failures.
I remember once, a client from Australia, a very polite gentleman, told me about issues with their previous suppliers. They faced costly delays and quality concerns. This highlights why getting the basics right, like ferrule installation, is so important.
What Tools Do We Need for Ferrule Installation?
Getting started with wire rope ferrules needs the right tools. Using the correct tools makes the job safer and more efficient. It also helps prevent installation problems.
We need a hydraulic crimping tool, a go/no-go gauge, a tape measure, and a wire rope cutter. These tools ensure a secure and compliant ferrule installation.
Dive Deeper: Choosing the Right Tools
When I work on a project, I always make sure my team has the best tools. This is especially true for wire rope assembly. Without them, mistakes happen. Let me break down why each tool matters.
Hydraulic Crimping Tool: The Powerhouse
This tool is central to making a strong connection. It applies the exact force needed. This forms the ferrule around the wire rope. We make sure our crimpers are always calibrated. This prevents both under-crimping and over-crimping. Both can lead to failure.
| Crimping Tool Type | Advantages | Disadvantages | Best Use Case |
|---|---|---|---|
| Manual Hand Crimper | Portable, low cost | High effort, limited sizes | Small jobs, field repairs |
| Bench Crimper | More force, consistent | Less portable, higher cost | Workshop use, medium volume |
| Hydraulic Crimper | High force, precise, efficient | Heavier, higher cost | Large wires, high volume production |
Go/No-Go Gauge: The Quality Check
After crimping, we use a go/no-go gauge. This simple tool is critical for quality control. It tells us if the ferrule is crimped to the correct diameter. If the “go” side fits, and the “no-go” side does not, the crimp is good. This step prevents weak points. It also meets industry standards like EN12385-4.
Wire Rope Cutter: Clean Cuts
A clean cut is important. A dull cutter can fray the wire rope. This makes it harder to insert into the ferrule. It can also weaken the rope. I always tell my team to use sharp, high-quality cutters. This ensures a clean, mushroom-free end.
How Do We Prepare the Wire Rope and Ferrule?
Proper preparation is the first step to a secure connection. This stage sets up the entire installation process for success. Skipping steps here can cause big issues later.
We prepare the wire rope by cutting it cleanly and ensuring no frayed ends. We also select the correct size of ferrule matched to the wire rope’s diameter and material.
Dive Deeper: The Importance of Right Sizing and Cleanliness
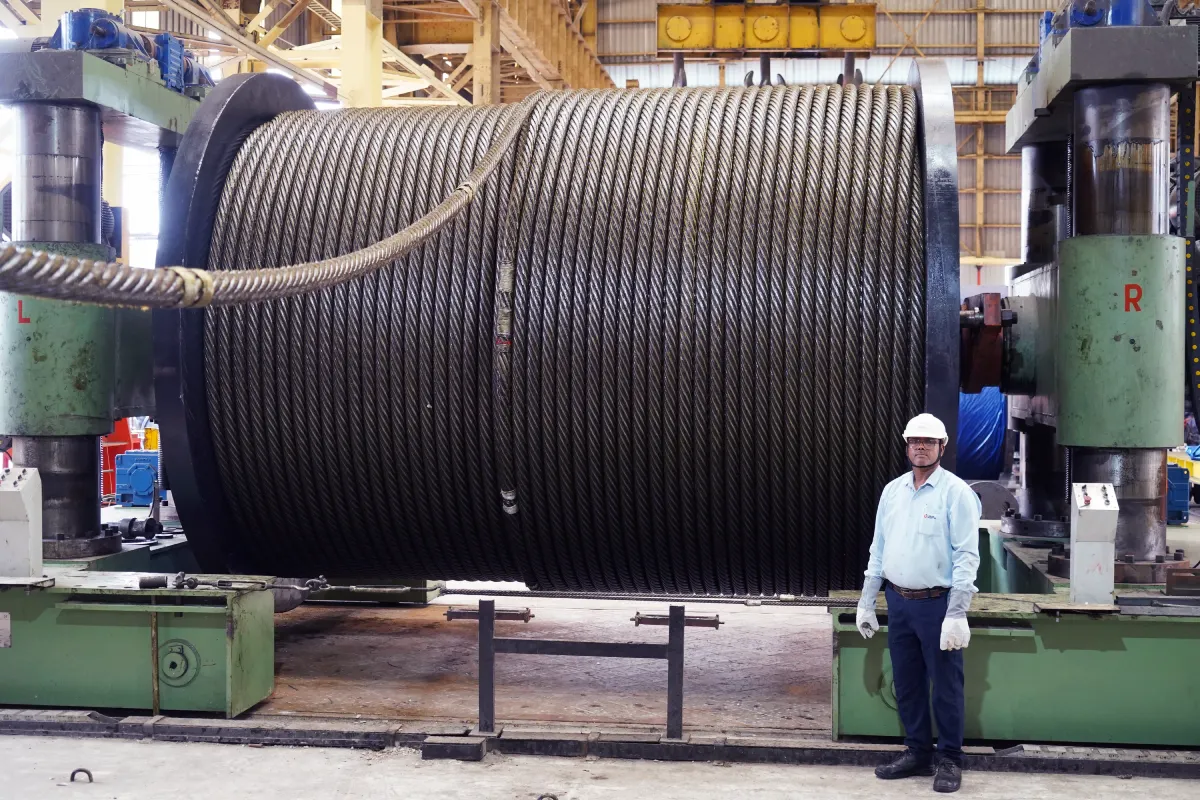
I always emphasize that preparation is not just a step; it is the foundation. We have four production lines. Each line focuses on precision. This precision starts with preparation. I’ve seen projects fail due to simple sizing errors.
Selecting the Right Ferrule Size
The ferrule must match the wire rope diameter exactly. Using a ferrule too large will result in a loose connection. A ferrule too small will not fit. It will also damage the wire rope. We always check the specification. For example, if it’s for an elevator, it needs to meet strict standards. This attention to detail means our clients in places like Singapore and Russia get the right product every time.
| Ferrule Material | Wire Rope Type Supported | Common Applications |
|---|---|---|
| Aluminum | Galvanized, Stainless | Light duty, general purpose |
| Copper | Stainless Steel Only | Marine, corrosion resistant |
| Steel | All types, high strength | Heavy duty, structural |
Ensuring a Clean Cut
As I mentioned, a clean cut prevents fraying. Frayed ends are hard to insert. They also create uneven pressure points inside the ferrule. This can lead to premature wear or failure. We ensure our wire rope products, from crane wire ropes to marine wire ropes, have perfectly prepared ends. This makes our assemblies easy to install and very reliable.
Pre-Assembly Inspection
Before we insert the rope, we do a quick check. We look for any imperfections on the wire rope. We also check the ferrule for any defects. This quick inspection can prevent a bad installation. It saves time and money in the long run.
What is the Step-by-Step Installation Process?
Putting the ferrule onto the wire rope must follow a clear process. Each step builds on the last. Following these steps ensures a strong and lasting connection. This is critical for safety and performance.
The installation process involves inserting the rope, crimping it with a hydraulic tool, and then verifying the crimp with a go/no-go gauge to ensure a secure connection.
Dive Deeper: Executing Each Step with Precision
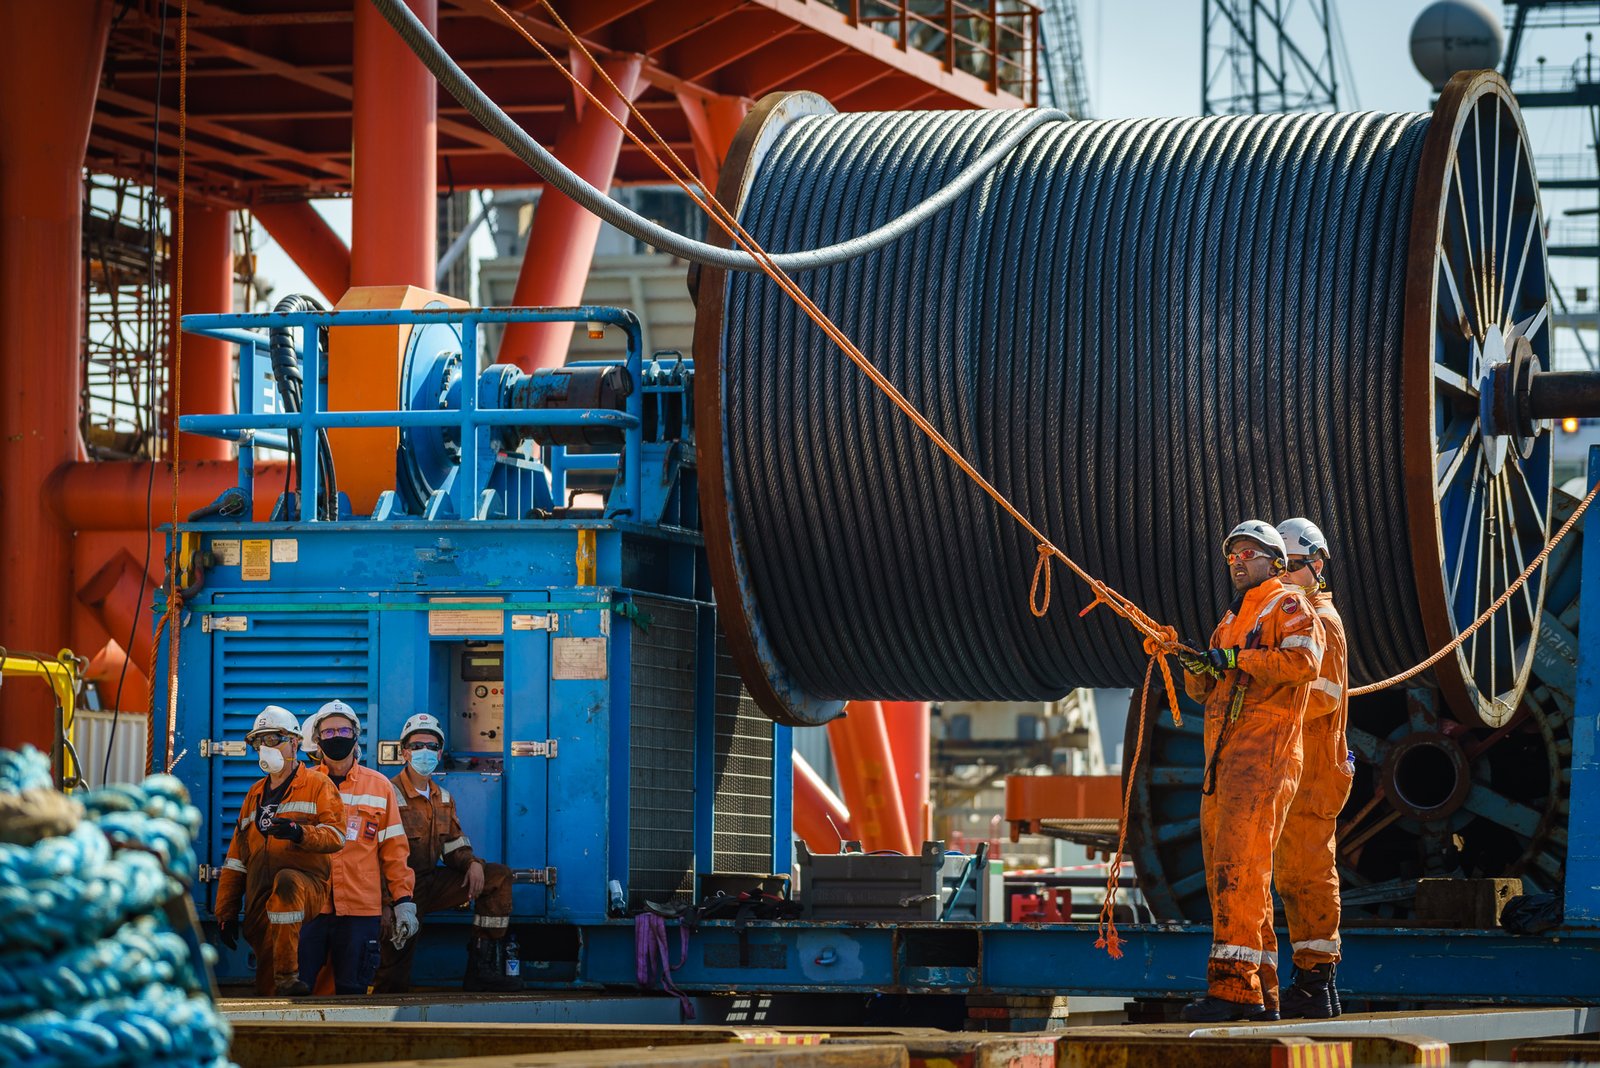
When clients like those in Saudi Arabia or UAE ask for specialized assemblies, the installation process is key. We have built our brand, Aulone, on quality. This quality is in our process.
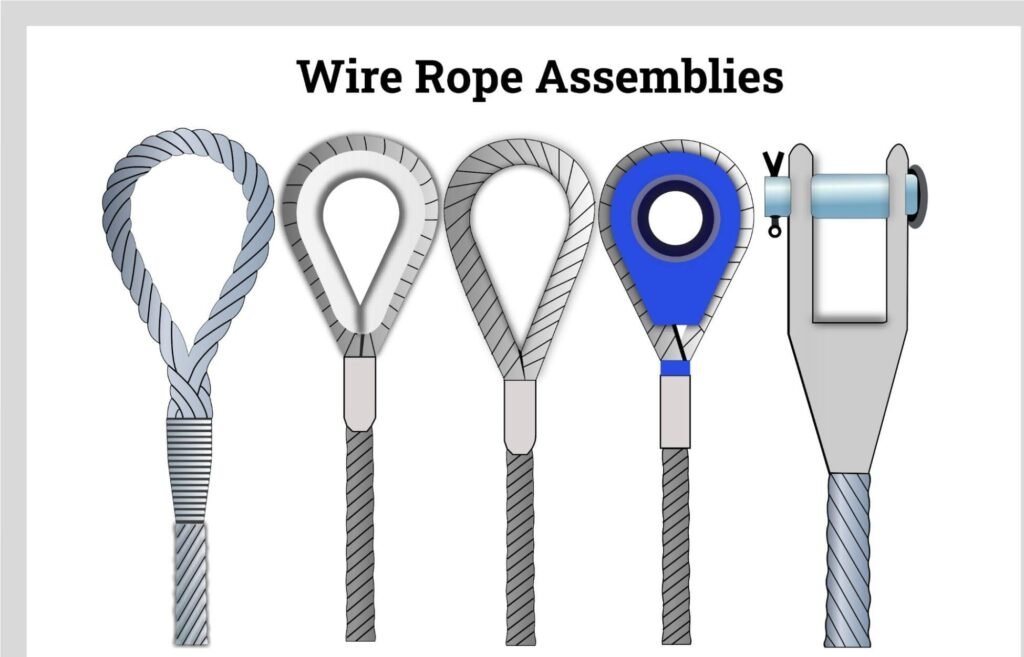
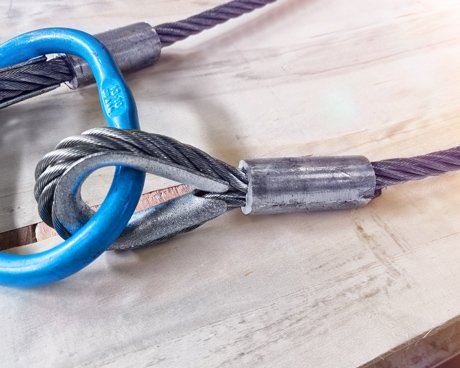
Step 1: Looping the Wire Rope
First, create the loop. Thread the dead end of the wire rope through the ferrule. Then, make a loop of the desired size. Pass the dead end back through the ferrule, forming the eye. The loop size must match the application. For instance, a crane wire rope needs a specific loop for its hook.
Step 2: Positioning the Ferrule
Position the ferrule correctly. It should be snug against the thimble or straight lay. There should be a small amount of wire rope extending past the ferrule. This ensures a full crimp. For double ferrules, space them according to manufacturers’ guidelines.
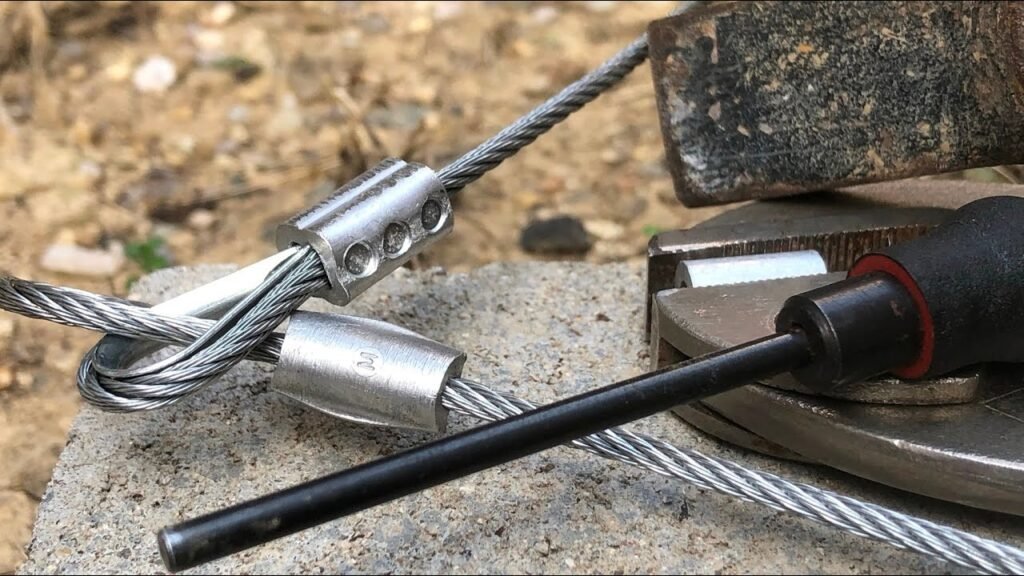
Step 3: Performing the Crimp
This is the most critical step. Place the ferrule into the crimping tool’s dies. Apply the correct pressure. Crimping must be slow and steady. This allows the metal to flow and form around the wire rope. We often do multiple crimps at different spots on the ferrule. This ensures even pressure. Our machines are set to precise pressures. This is how we ensure high tensile strength and high breaking load.
Step 4: Verification with Go/No-Go Gauge
Immediately after crimping, use the go/no-go gauge. As discussed, this confirms the crimp diameter. If it fails, the ferrule must be cut off. We then repeat the process with new materials. There is no room for error here. This is why our products meet EN12385-4.
Step 5: Final Inspection
Finally, visually inspect the completed assembly. Look for any signs of damage to the wire rope or the ferrule. Check for a smooth, even crimp. This step is a final quality check before the wire rope assembly is put into service. This attention to detail is why our factory holds certifications like BV, CE, RMRS, DNV, and ABS.
Conclusion
Understanding how to install wire rope ferrules is crucial for safety and reliability. By following the right steps and using the correct tools, we ensure strong, lasting connections.